How To Sew A (Striped) Pleated Crib Skirt
I'm cheap, you guys.
I didn't want to buy an entirely new crib set for Curtis. . . In fact, I knew that I didn't even want a crib bumper at all because I would rather chew nails than go through the hassle of taking it off every time I change the sheet. {I learned that much with Hannah's cute crib set, you see.}
I also knew that I could probably pull off making my own crib skirt. Probably.
But I set to work doing it anyway; hoping for the best.
I didn't think Curtis would appreciate a ruffly crib skirt, so I found THIS tutorial over at "Two Hands and a Bleeding Heart" that showed how to make a pleated skirt instead. One little hiccup I had was that I failed to notice where she points out buying 1.5 yards of plain white cotton for the "desk" that sits underneath the actual mattress.
Whoopsie!
Thankfully, I had previously reviewed THIS tutorial from "The View Along the Way" that uses tacks to attach the skirt directly to the mattress frame. I thought to myself, "Don't panic. We'll just attach it with tacks and call it good."
Yes. Well, we'll talk about that later.
I'm going to show you four hundred ninety five pictures of my process in hopes that I can help you make your own. But, really, this is such a rinky-dink crib skirt that I'm almost ashamed to show it to the public. I think my problem was waiting until I was 31 weeks pregnant before starting, then spending an insane amount of time on my hands and knees trying to measure this bad boy out. . . which made my back hurt. . . which made sitting at the sewing machine none too fun. . . . which lent itself to a rushed and haphazardly compiled project.
So please don't hate me if you know how to sew and would like a REAL tutorial. :)
. . . .
I should have known better when I chose striped fabric and therefore had to alter how I measured/cut the fabric so that my stripes would be vertical. The "Two Hands and Bleeding Hearts" tutorial gives you an easy way to measure and cut fabric that has a normal pattern, but if you have stripes, it doesn't work. Here's a horrific example of how I cut my fabric {my husband's superior "Paint.Net" skills are probably going to start twitching}:
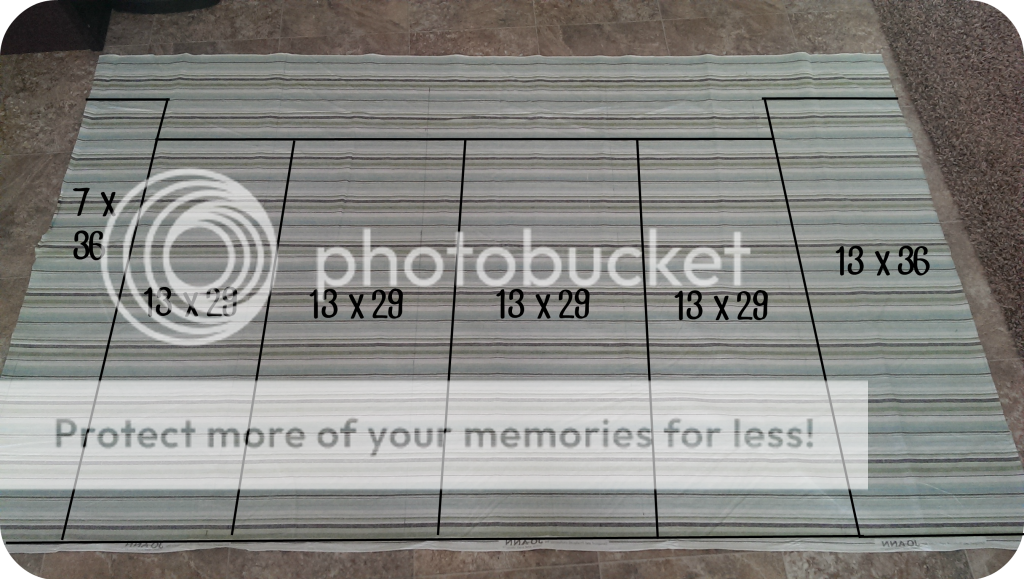 |
You see, I'm supposed to have TWO strips of fabric that are 13" x 36" for the short-side panels of the crib skirt. Then I'm supposed to have TWO strips of fabric that are 13" x 58" for the long {pleated} side panels. My fabric wasn't 58" wide, so I had to split the two long sides in half in order to make them fit and have vertical stripes. And, as you can see, I ran out of fabric and had to make a my second short-side panel super thin {7-inches instead of 13 inches}.
Poor little guy. {I'll show you why I wasn't too torn up about it later in this post.}
If memory serves, this was 2 yards of fabric, so if you want complete short side panels, I would suggest getting at least 2 1/4 yards of striped fabric.
. . .
After you have all your pieces cut out, you'll want to attach your 13 x 29 pieces together to create TWO 13 x 58 pieces. Place two of the short sides together {right sides facing} and use a narrow hem to sew them together.
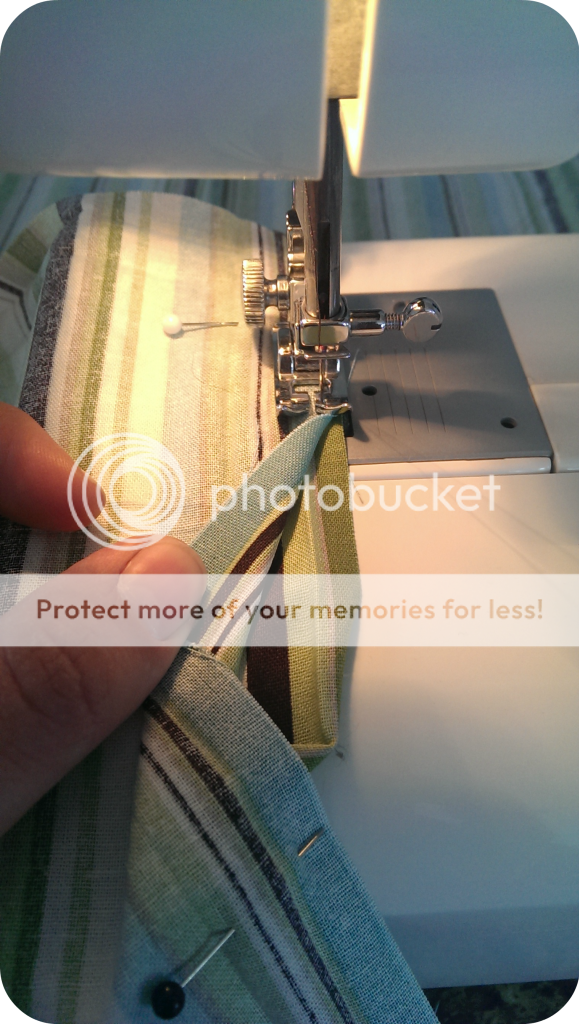
After you've done that and have four strips of lovely fabric, you're going to want to create a finished edge. Start with the short sides of each panel and fold them under 1/4" and iron; then fold them under another 1/4" and iron that. Repeat the same process for the long sides of each panel. This will give you a nice finished edge that won't fray. Yay!
You can go ahead and sew those folds down on the short-side panels, but hold off on sewing on the long panels until after you create your pleat.
Here's an example of how I sewed the folds down {also called "hemming", I do believe}:
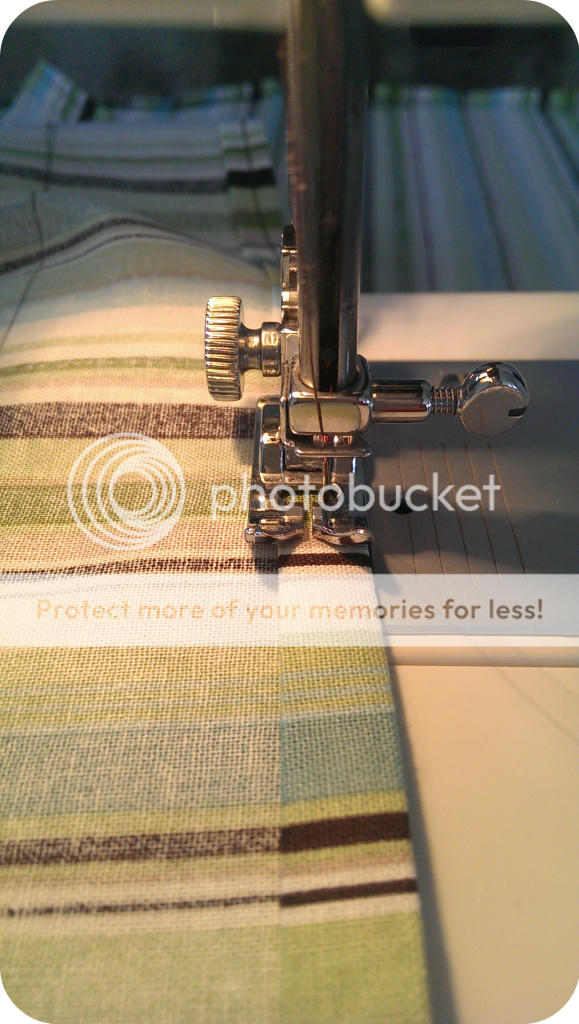
When I got to a corner, I merely left the needle down, rotated the fabric, put then presser foot back down and continued on my merry way.
. . .
Now for the fun part you've all been waiting for- - - The mighty pleat!
I'm quite certain you can find better tutorials for creating a pleat, but I'll document my attempt anyway. :) You'll start out by finding the center of each 13 x 58 fabric strip, which for those of us with stripes is easy because we just sewed it together. Measure 2 1/2" to the left and right of your center line and put a pin there.
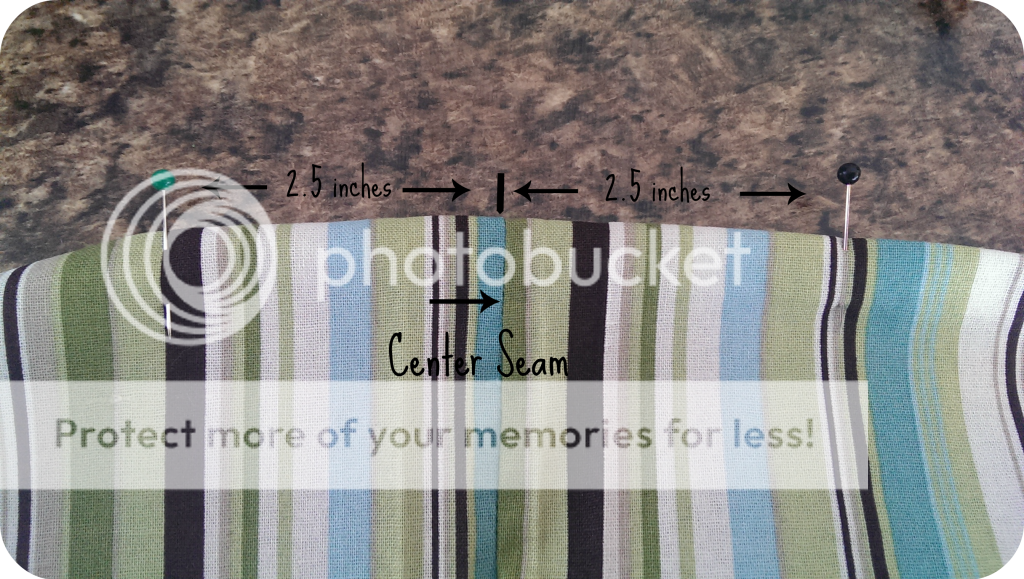
Then take the fabric where your pin is and fold it over so that the pin lines up with your center seam. Replace the pin so that it holds through all the layers of fabric. Repeat with the other pin.
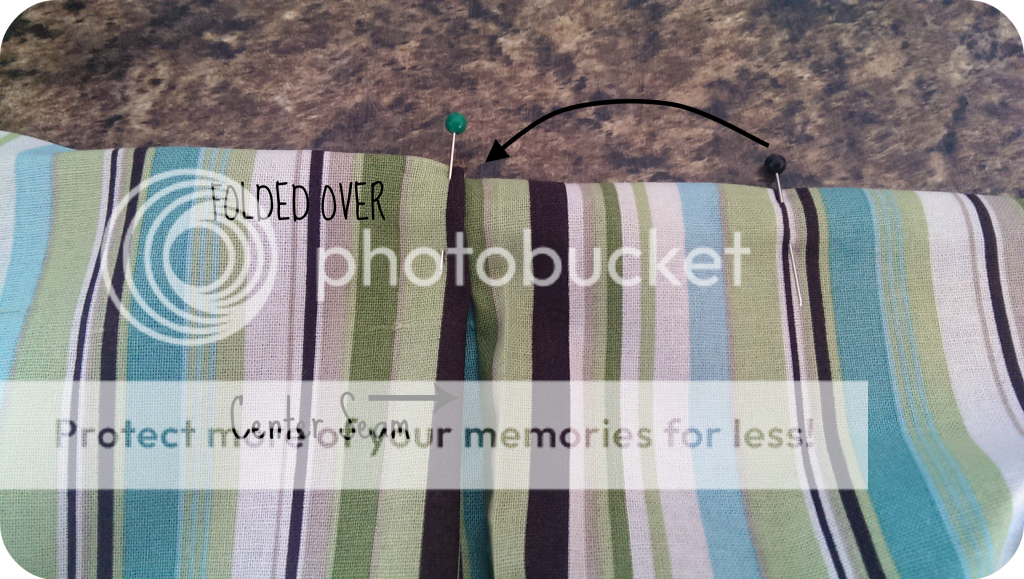
Here's how it looks from the top:
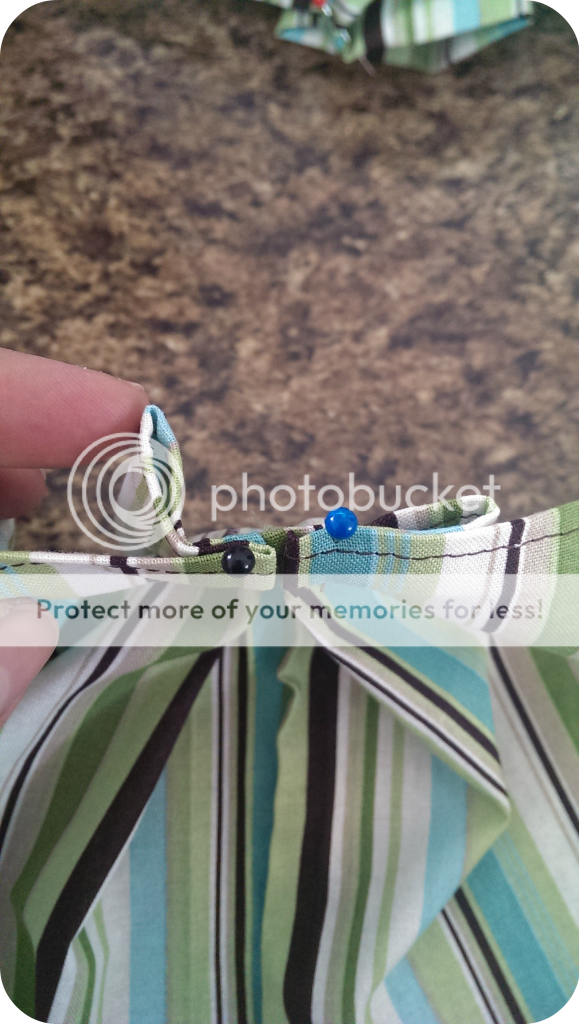
. . . and from the front:
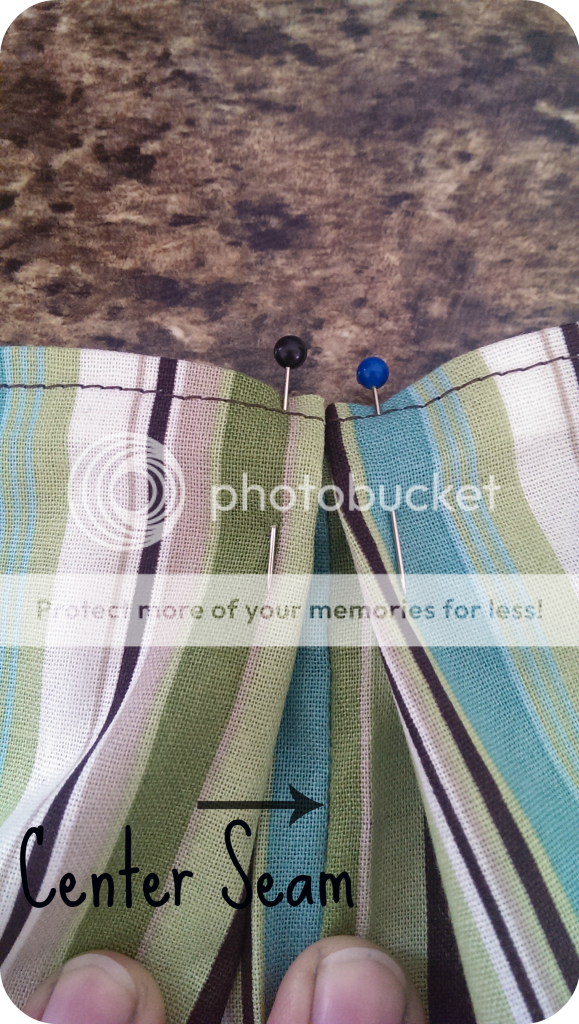
If you're still confused, give it a try and it will probably make much more sense when you have the fabric in front of you. If you're still confused after that, find someone who is actually a good seamstress and follow their tutorial. :)
Now that you've pleated both of your 13 x 58 panels, you can sew down that 1/2" fold you made earlier {1/4" + 1/4"}.
{You may notice in the two pictures above that I had already sewn the folds down before pleating. Don't do it. Pleat first; THEN sew. Trust me.}
. . .
Now it's time to talk about my plan to tack the fabric to the mattress frame. I attempted. . . and failed.
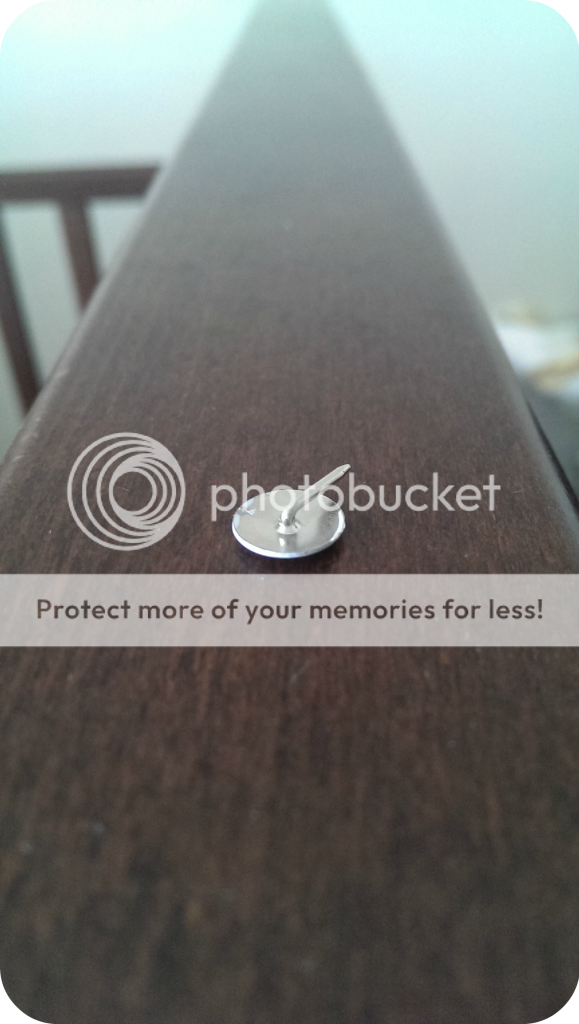
Miserably.
And so. . . I put on my thinking cap and came up with sticky velcro. Stick the pokey side of the velcro to the mattress frame and sew the soft side of the velcro to the skirt.
Genius.
I ended up with 5 pieces of 2 3/4" velcro {per long-side panel} and just kinda guess-timated where I wanted them to go. After I reached the center seam, I folded the panel in half {right sides facing} so I could match up where I put the velcro on the other half; resulting in evenly spaced velcro across the entire thing. Capeesh?
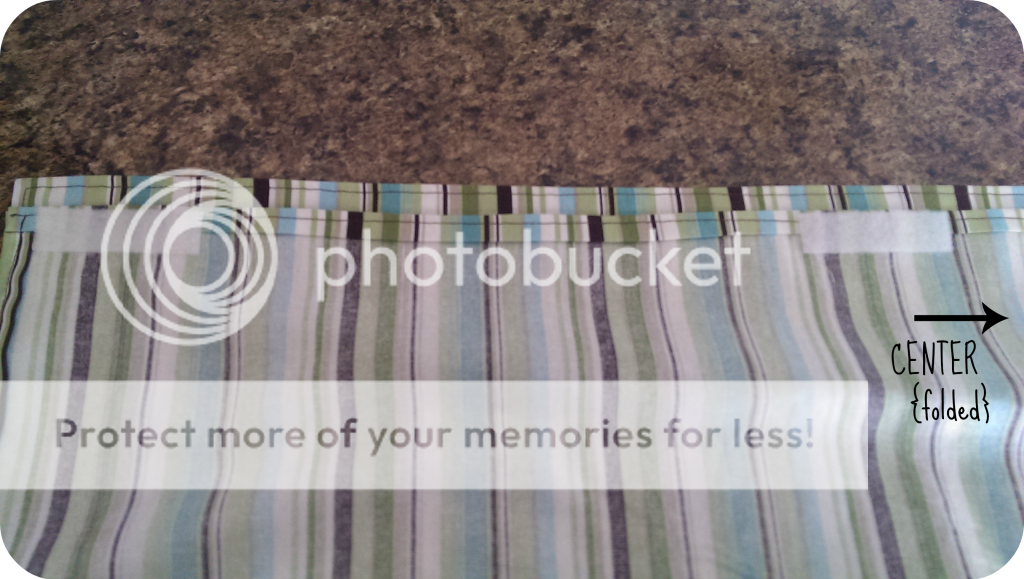
After I opened the panel back up, it looked like this:
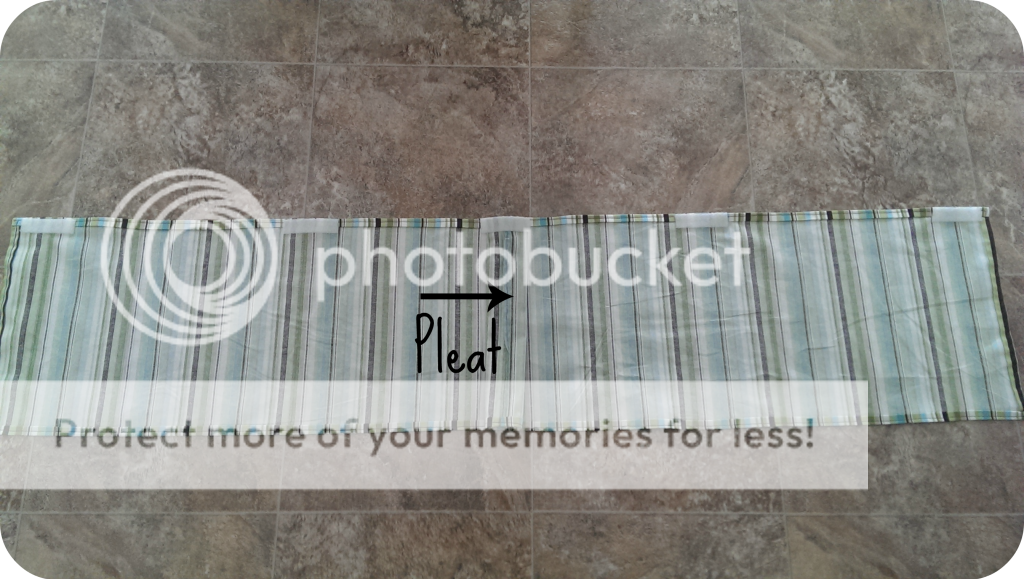
I thought all was well with my master plan until I tried to sew on the sticky velcro {because it doesn't like to stick to the fabric much}.

Sticky velcro and sewing machines are not the best of friends. In fact, they hate each other. If they could, they would throw rotten fruit at each other from across the cafeteria. That's how much they hate each other.
But fear not, my friends. I have solutions for you.
You can just leave the stickiness to do it's job and call it good {which works fine until you detach your crib skirt from the frame. The velcro attachment is much stronger than the sticky back and it just comes right off the fabric, if that makes sense}. Unless you plan on removing the skirt often, I don't see why this would be problematic. It will hold just fine; especially with a mattress on top of it.
. . .Or. . .
You can rumage through your stash and find sew-on velcro and replace that with the sticky velcro on the fabric. You'll obviously want to leave the sticky velcro on the mattress frame. . . unless you can sew through wood.
I went with option #2 strictly because I didn't think that #1 was a viable option until after I had already started. But, alas, it worked out much better on the second go 'round.

Sew-on velcro FTW.
Now that you've attached the velcro {sticky or otherwise} to your fabric, it's time to line up your skirt with the mattress frame and stick on the OTHER half of your velcro {this goes for both the front and back of the frame}.
This shows you how I lined up three of the five velcros:
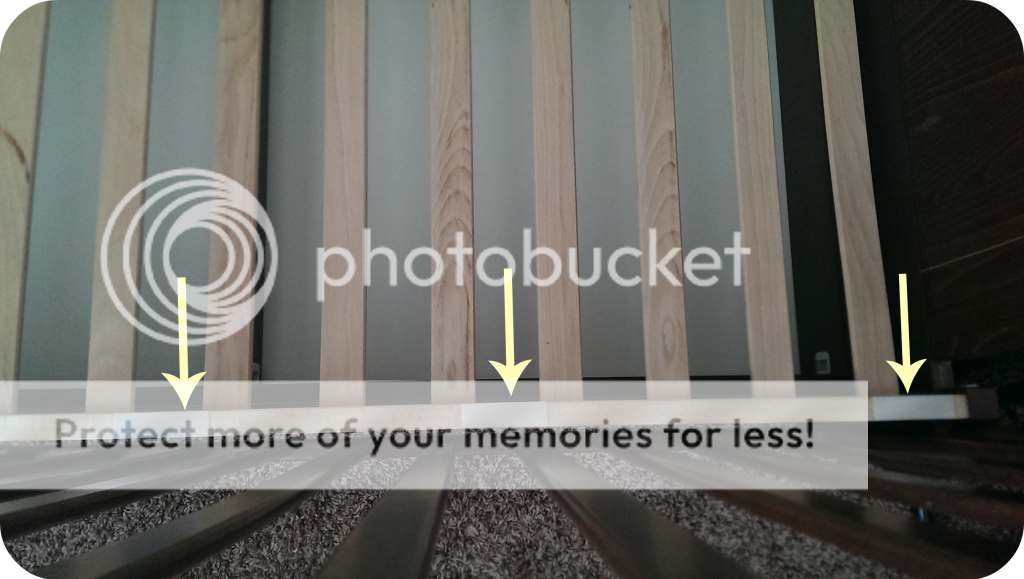
And then all that's left to do is stick on your crib skirt!
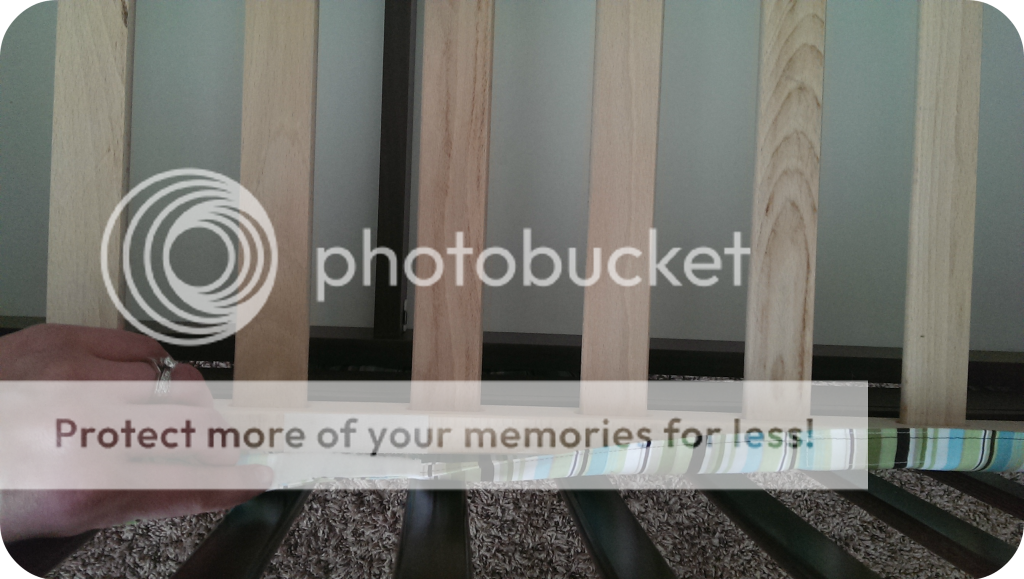
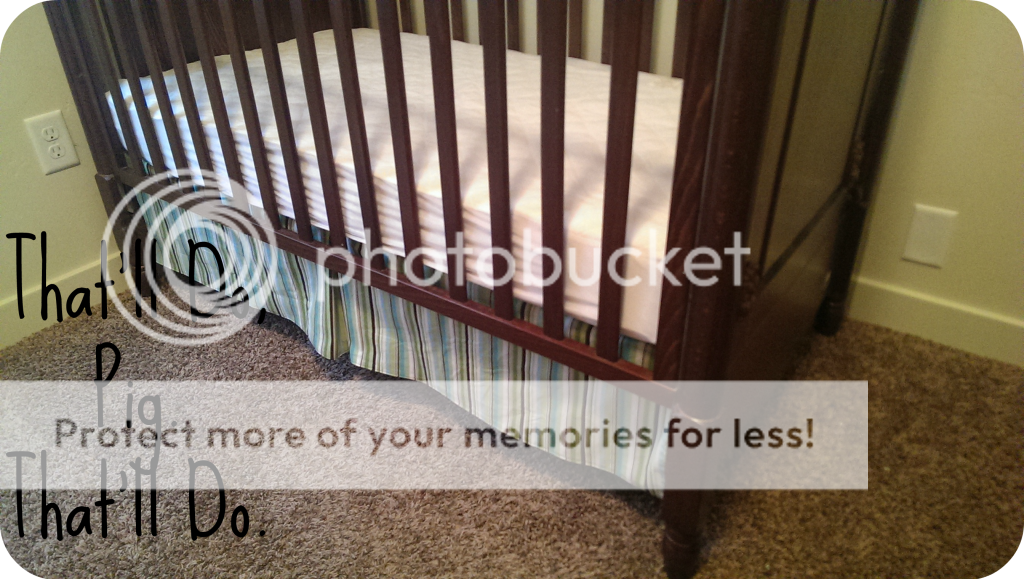
Ta-Da!

And, yes, I know it's wrinkled. Maybe that's how I like it. And, yes, I know my crib mattress is nekked of all color and personality. I haven't found a matching sheet yet. Hold your horses. And, yes, I realize the mattress is still in the "lowered" position from when Nanny resided there. We shall fix it.
. . .
But now you're probably thinking. . . what about the SHORT SIDE PANELS? What about that poor little 7 x 36 piece that will never live up to his 13 x 36 counterpart?!? You forgot them!
No, I didn't. And I'll tell you all about the fate of that poor inferior panel. . .
. . . . . . .
. . . I didn't use either of them. At all.
Why?
Well, I'll show you.
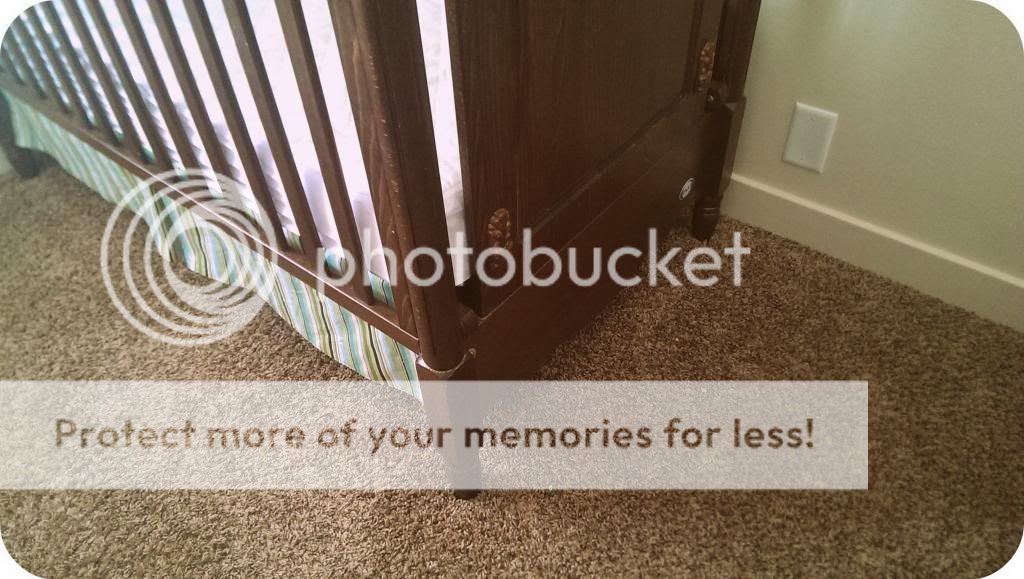
You wouldn't have been able to see them anyway thanks to that lovely little piece of wood down there. So, since they struggled to begin with, I just skipped them completely. However, if you DO want short side panels, simply repeat the exact same process that you used for your long-side panels {but without adding the pleat}. And do a little jig because your crib skirt is automatically much less dilapidated than mine. Congratulations!
. . .
So, there you have it. A striped and pleated crib skirt. Or, at least MY version of one. :)


Comments
Post a Comment