Must or Bust: Pretzel Bites and Stove-top Cleaning
Hello! If you're new {or forgetful}, the "Must or Bust" series is where I take a couple Pinterest pins and try 'em out. Because, let's face it, sometimes Pinterest has some AMAZING things that make life much more simple or yummy. . . and sometimes it lies. :) So I'll tell you if I consider the pin a "must" or a "bust" and what I did differently than the original pinner-person {if anything}. Make sense?
You can take a gander at the previous "Must or Bust" posts by clicking HERE.
. . .
I decided to be a productive adult this afternoon because sitting on my rump watching Hannah reorganize the living room gets a little boring after a while. Besides, the Hubs is working late and doing stuff helps the time go by a little faster.
So, naturally, I decided to make food. Because I clearly haven't gained enough weight lately.
Easy Homemade Pretzel Bites: Must. . . mostly

{photo source}
I found this recipe today over at "I Heart Naptime" HERE and thought it sounded do-able. Yeah, well, I underestimated how difficult I make bread baking. It always looks much easier in the pictures than it is in real life. . . for example, she tells us to roll out the dough into little ropes. Easy, right? Hmmpf. Not if you're me and the dough sticks to you no matter how much flour you use and forming dough into anything beautiful is physically impossible.
But that's beside the point.
Let me share the recipe with you here and tell you what I changed:
1 1/2 c. warm water
1 packet active yeast (or 2 1/4 teaspoons)
1 1/2 t. salt
1 T. sugar
4 c. flour {I think I ended up kneading in an extra 1/2 -1 c. before the dough became workable}
3/4 c. baking soda
1 egg (whisked)
coarse salt (kosher or sea salt) {I used one of those sea salt grinders from Costco set to "coarse", but I would suggest actually getting something a little chunkier}
Preheat oven to 425 {I did 420 because my oven bakes hot}. Line a baking sheet with a baking mat or parchment paper {or generously spray with cooking spray if you don't have either} and set aside.
In a small bowl, add warm water and yeast. Allow to sit for 3-5 minutes. Add salt and sugar and stir.
In a large bowl, add flour and then pour yeast mixture over top {use a rubber spatula to scrape out all the sugar that doesn't like to pour out with the rest}. Knead with bread hook in your mixer or by hand for approximately 5 minutes.
Separate dough into 6-8 sections. Roll dough into ropes about 15-20" long and 1" thick. Cut with scissors into 1 1/2 - 2" pieces. Then cut a "t" or "x" on the top of the pretzel with scissors. {I struggled with this part and my dough was NOT pretty nor very uniform in size and shape, but I did my best}
In a large pan, bring 3 quarts of water + 3/4 c. baking soda to a boil {make it a very large pan. . . at least 6-quart size. It foams up like crazy!} . Once water is boiling, place about 8 pieces of dough into the water for about 30 seconds {I used a plate to transfer the dough from the counter to the pot all at once. Also, I put in anywhere from 8 - 10 pieces at once and found that they sink at first, but float as soon as they're "ready". I would also suggest counting how many you put in each time because it's difficult to see them under the mess of cornstarch bubbles}.
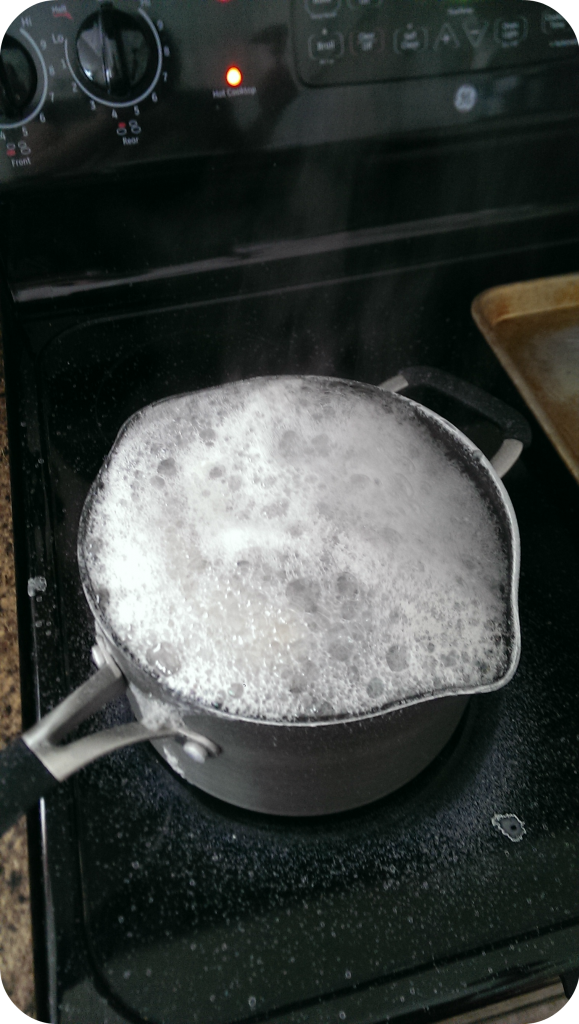
Remove with a slotted spoon and place pretzel bites onto baking sheet. Brush dough lightly with egg and sprinkle salt on top {I had some egg left over, and I don't think I'll even use that much next time. So when she says "lightly", she means it. You don't have to use the whole egg. And like I mentioned earlier, I'll definitely add more salt next time. . . so don't be shy if you like salty pretzels!}.
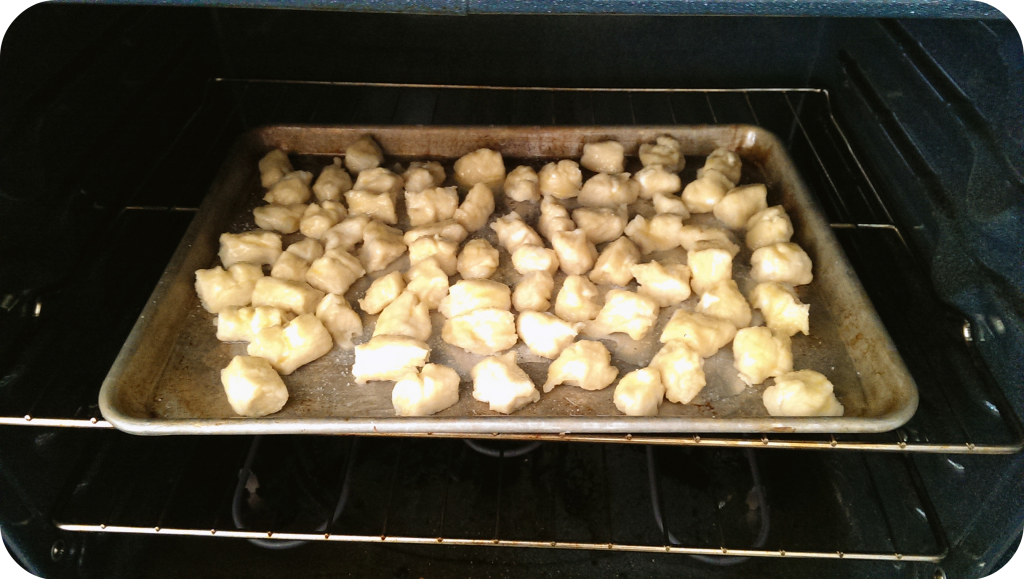
Bake for 8 - 10 minutes. You can turn the oven on broil for the last minute to brown the tops. Remove pretzel bites to a cooling rack and brush tops with melted butter{since my oven is slightly crazy, I ended up baking them for 10 minutes at the lower temperature, then broiling them on high for around 1 1/2 minutes. I then turned off the oven, brushed them with 1 T. melted butter, and then put them back in the warm oven for a few more minutes. Since I didn't use parchment paper, I had to use a spatula to loosen the pretzel bites, but they seemed to come off fine with that little bit of help}.
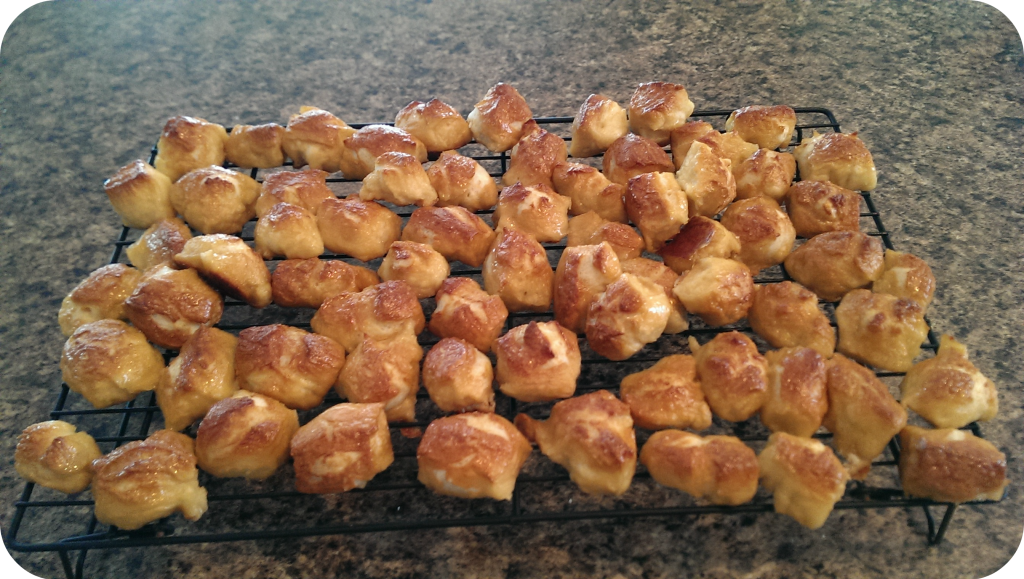
Ta-da! Ugly little pretzel bites :)
All in all, they're quite chewy/tender and taste like pretzels. . . I just wish I had used less egg and more salt.
But let's take a moment and discuss what that boiling cornstarch-water did to my ceramic stove-top, shall we?
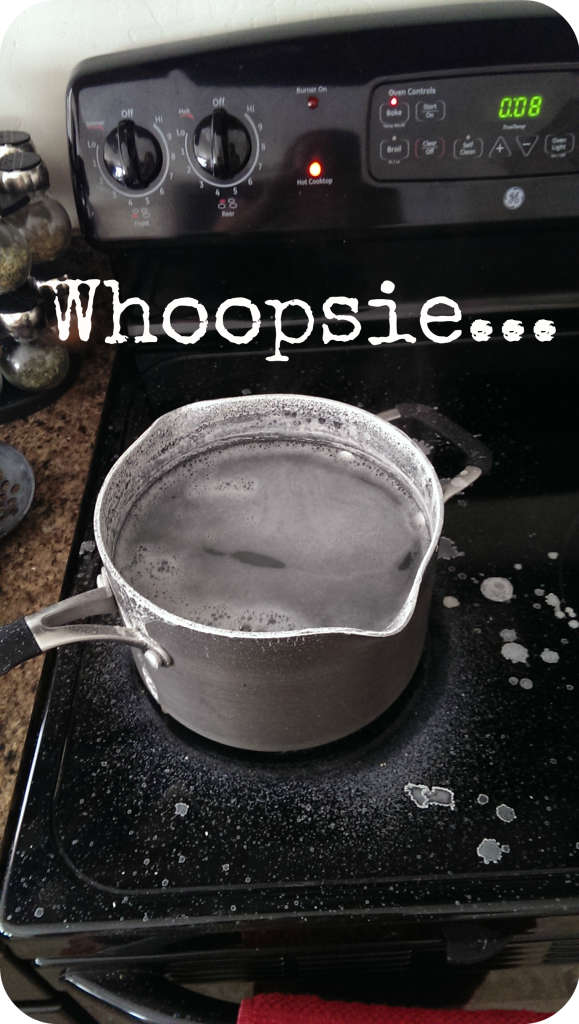
Son of a gun.
. . . .
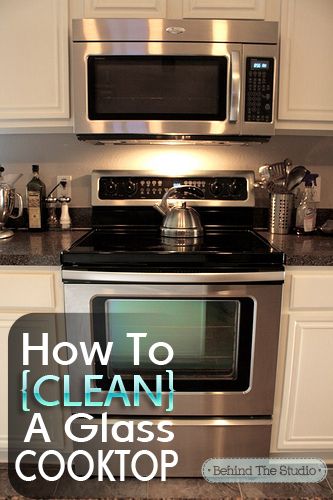
Clean Your Glass Cook-top with Baking Soda: Must
{photo source}
I needed something to save the day, and I've been meaning to try this approach found over at "Behind the Studio" HERE. What better time than this?
Well, it worked, ya'll. And the 15 minutes that the rag is left soaking on the stove-top was just enough time for me to finish washing all the dishes created by the pretzels. . . perfect!
One thing I did notice that she doesn't mention is : streaking.
And no, I'm not talking about a nekked person making a sudden appearance in your kitchen. After you clean up your baking soda paste, there's still quite a bit of baking soda film left over. I used a wet paper towel to clean up most of it followed by a wet rag, then dried it with a dry paper towel. Aaaand I still saw some streaking. I saw her recommendation to use a little vinegar to shine it up and gave that a whirl. Seemed to work out marvelously!
So here are some 'before's and 'after's for your viewing enjoyment.
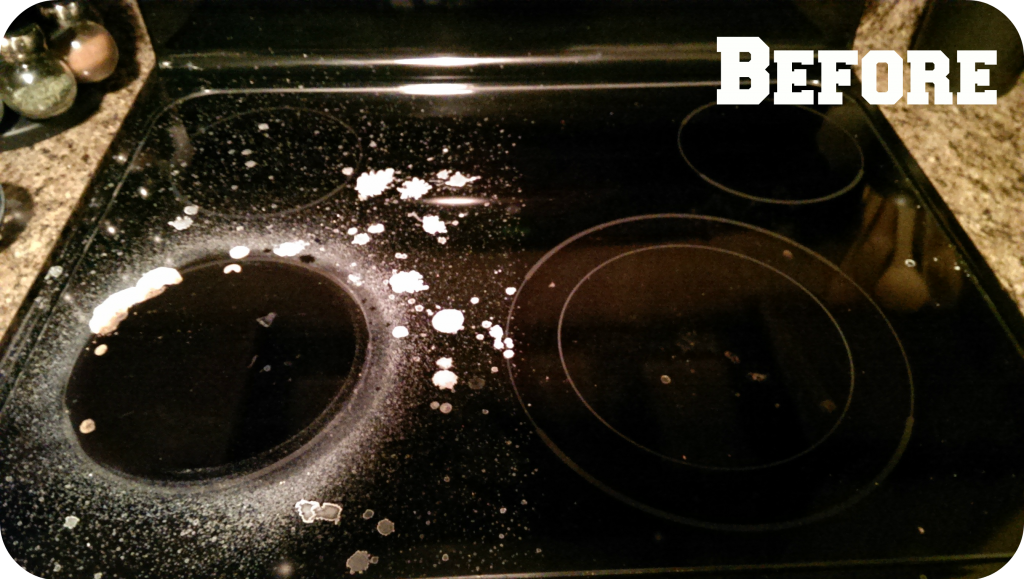
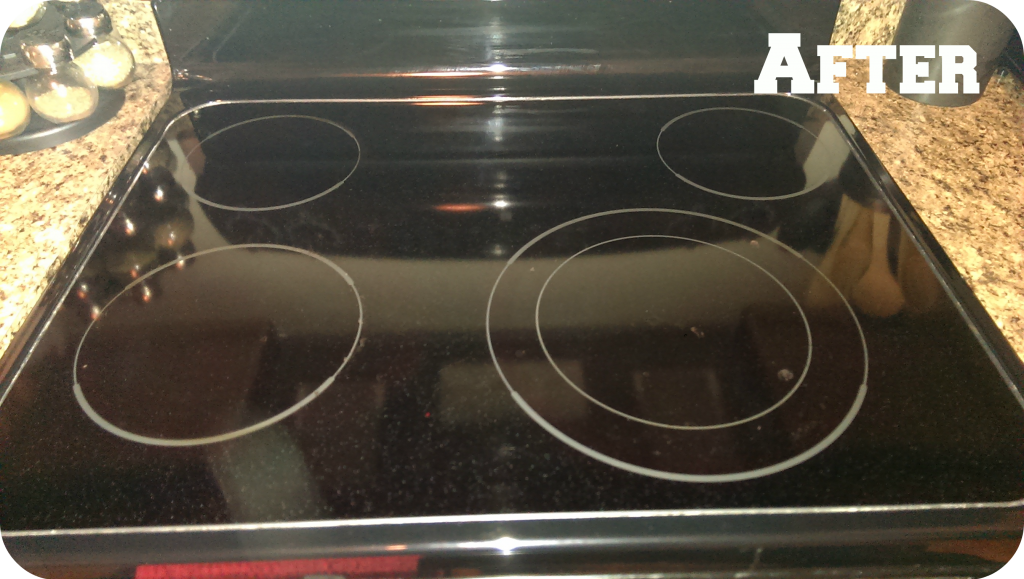
Sweet, huh.
. . . .
All right, my friends. That's all I've got.
The end.


Comments
Post a Comment