Must or Bust: Sewing, Sewing, Sewing
You guys.
I like to sew.
I'm not very good at it, but I like it. And I'm getting better. . . which is all that really matters, right?! I hope? :)
Sometimes I like to bite off more than I can chew with my attempts, but I like to tell myself that I learn new things that way. I got more and more crazy with each project I tried, here, so be patient with my humble results.
Let me just say this before we begin: I shan't do anything like this again for a while. Until, of course, I forget about the bazillion seams I unpicked repeatedly. Then I'll probably do it again. Because I'm a glutton.
. . . .
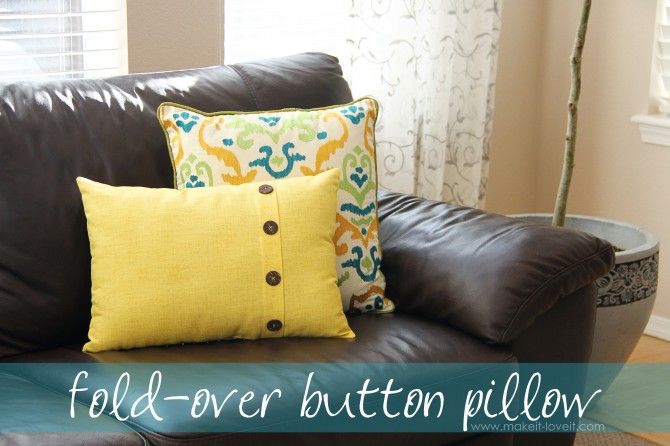
Fold-Over Pillow: Must
{photo source}
This tutorial is thanks to Ashley over at "Make It and Love It" HERE. This was such a fun and quick project! If you can sew a straight line, you can handle this. I pinky promise. Oh, and if you can sew on some buttons by hand. . . which is the worst part of this, in my opinion. The one word of advice I have to pass on is this: over-stuff it. 'Cause if you don't, it will kinda get all floppy. And wrinkly. Like mine:
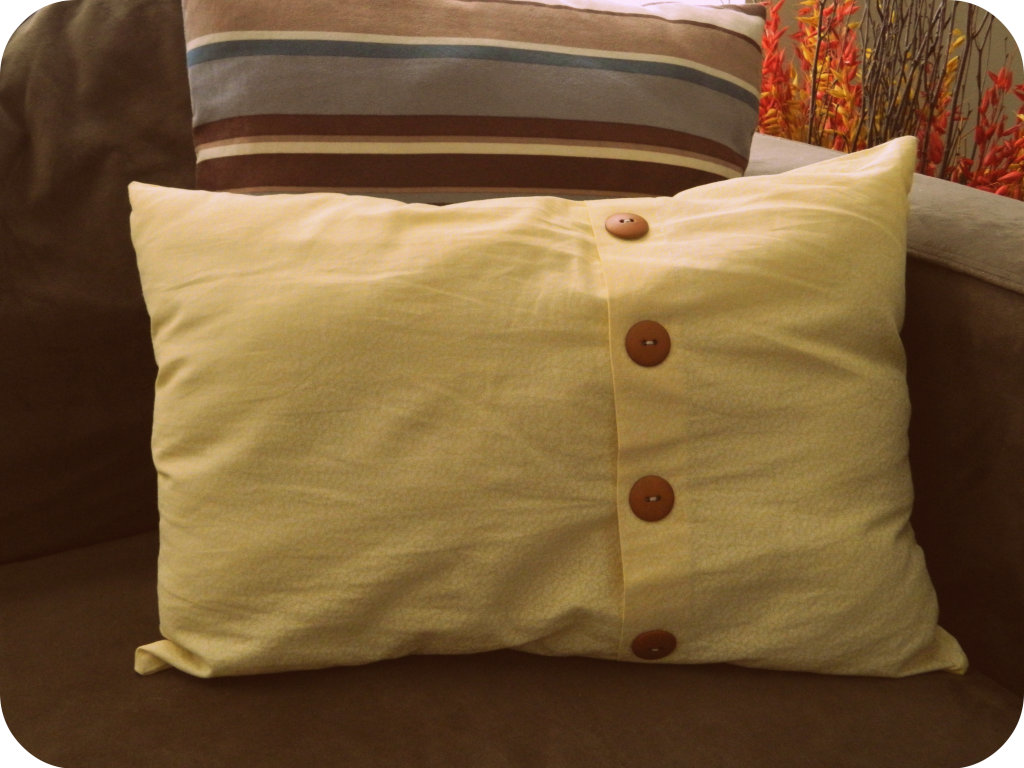
But I still luff him, wrinkles and floppiness aside. It (with the help of the other pillow I found for a steal at Big Lots!) really added a lot to my
. . .
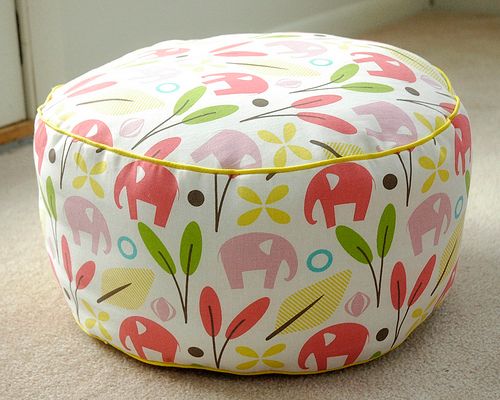
Toddler Floor Pillow: Must
{photo source}
I initially stumbled across this tutorial thanks to EmmmyLizzzie" HERE {although she links to the actual tutorial on her site}.
If you don't know already, math and I are not close friends. If math were on Facebook, I would avoid him like the plague. I also really struggle thinking outside the box of my own experience. So when the tutorial instructed me to make an 17" diameter circle, I made a dot in the middle of my paper and measured 17" out. Well, after cutting it out, I thought to myself. "WOW. Like, wow. That's massive." After some Google searching to save the day {since my spouse was at work}, I realized that the diameter is the total. . . So if you're going with the dot method, measure 8.5" from the dot. . . not 17". Let me show you the difference between the two:
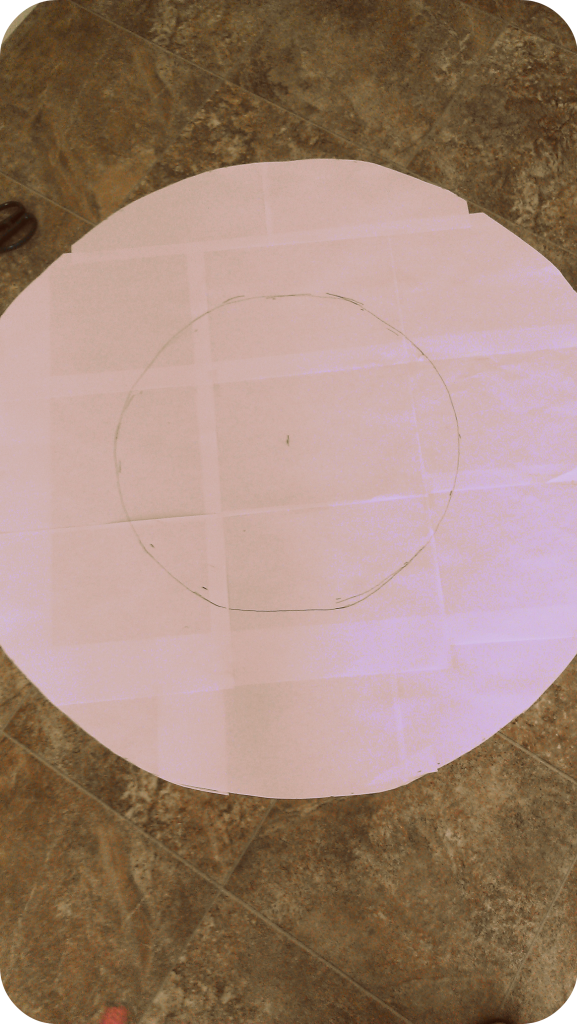
Yeah. The little circle was the right one. :)
After that little hiccup, I set to work copying it over to my fabric. Word to the wise : make sure you measure out all of your pattern pieces before cutting anything out. That way, you can make sure you have enough fabric for the super long 'side' beforehand. Just trust me. You'll thank me if you have to move some things around.
My tips are much the same story as with the fold-over pillow; I didn't stuff it enough. In my defense, I ran out of stuffing and I was too cheap to buy more without another JoAnn coupon. So it will do for now. Hannah just likes to carry it around, anyhow.
P.S. Sewing with the home decor fabric was pretty nice! It's a lot thicker than the regular cotton I've always used in the past, and so it was a lot easier to cut out and sew with. Don't be afraid!
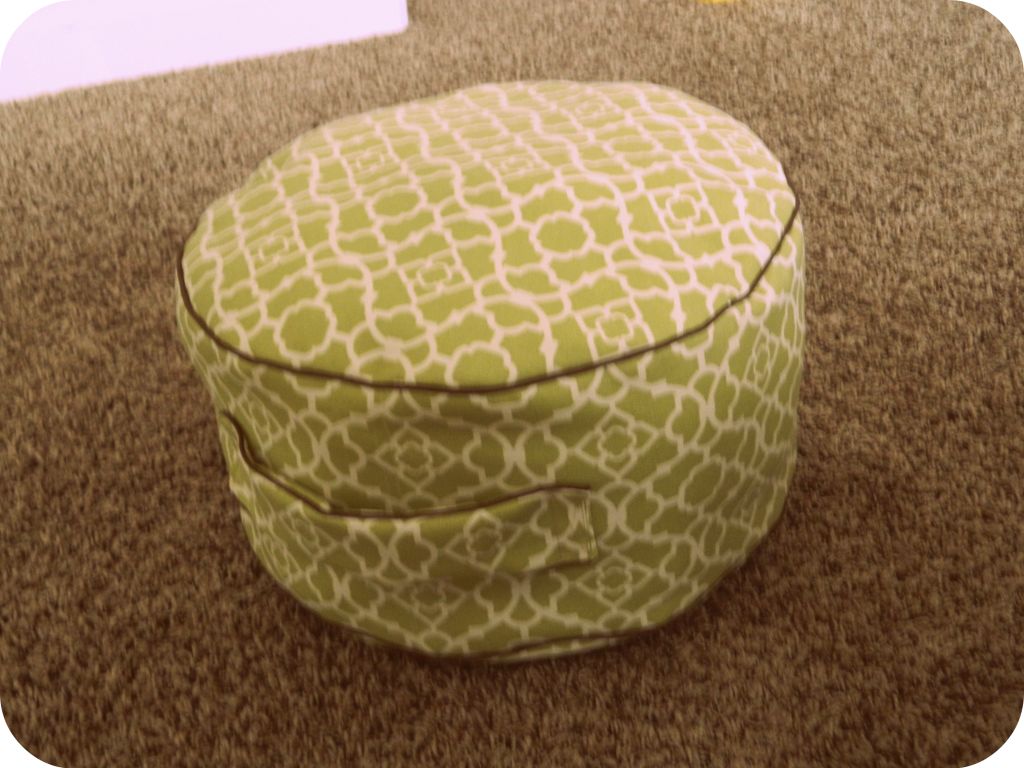
Now, that picture is so blurry because THIS kept happening as I was trying to snap it:

Yeah. 'Nuff said.
Here she is putting the thing to good use {don't you just love her day-old hair style?}:


Whoops. Way to under-stuff it, Mom. Sheesh.
. . . .
Dolman Style Top: Must. . . mostly
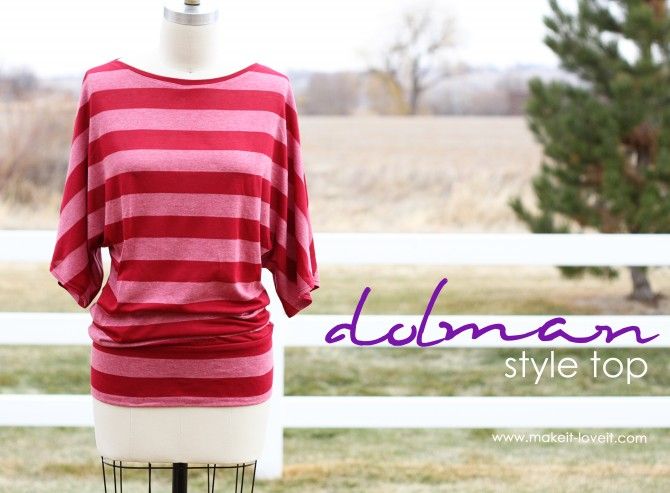
{photo source}
This is another of "Make It and Love It"s tutorials found HERE. I wanted a new shirt and going shopping isn't very much fun with a 21 month old. So I got the genius idea to make my own.
HA.
Not only was this my first attempt at making clothing, but I chose a jersey knit article of clothing. Ya'll. . . .jersey knit is hard to sew. I unpicked the entire shirt twice because I had to learn and relearn how to sew with the darn stuff. It's definitely not home decor fabric.
This was an interesting experience because I wasn't following a hard-core pattern. I was loosely tracing one of my own shirts, and I, um, am not very good at that. Apparently.
Some tips I learned: if you struggle making two identical sides just eyeballing it, trace one side of your shirt and then fold it over on itself (hot dog style) to trace the other side. Make sense? It seemed to work pretty swell for me. Oh, and don't make the sides too tight. I failed to give myself enough wiggle room on the sides, which resulted in a much more snug shirt than what is pictured.
Also, get yo'self a double needle. If you're going to sew with knit, get a double needle. It really helps when it comes time to hem.
Also, sew the darn thing together with a zig zag stitch. Just do it. She talks about using a straight stitch if you feel confident sewing with knit, but just don't. Use a zig-zag and you won't be unpicking a million things. Granted, if you want a gathered look that will result in the seam ripping eventually, then do a straight stitch. By all means. Straight stitch away, my friends.
Here's the final product. And my husband's toothbrush getting its moment of fame.
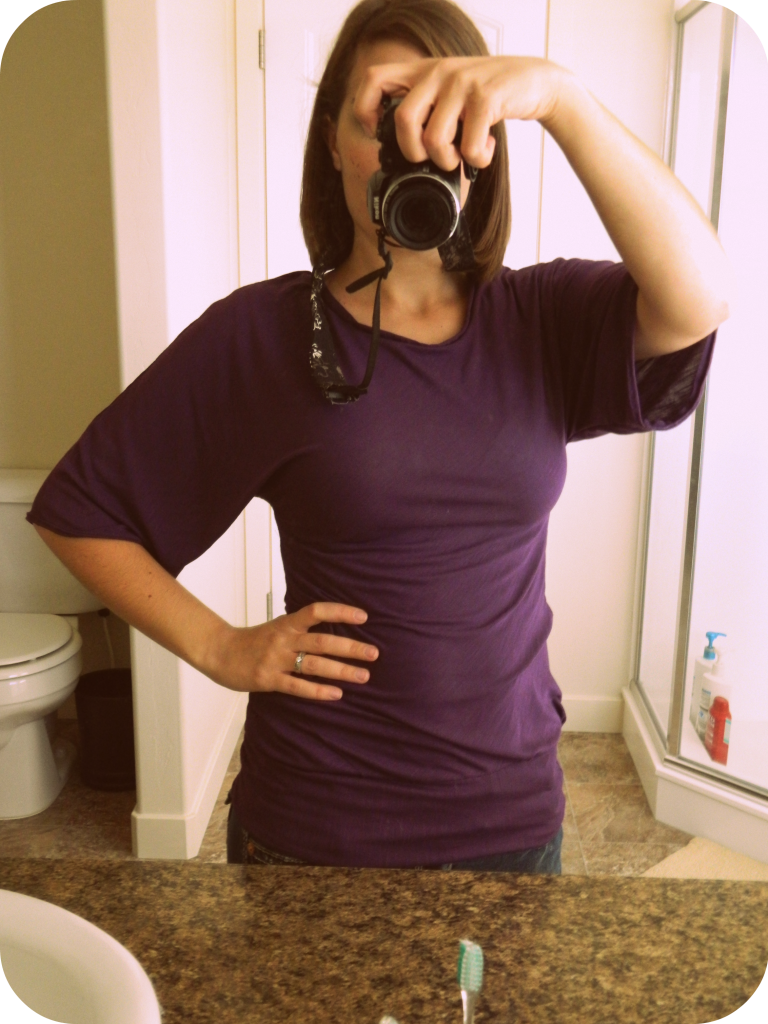
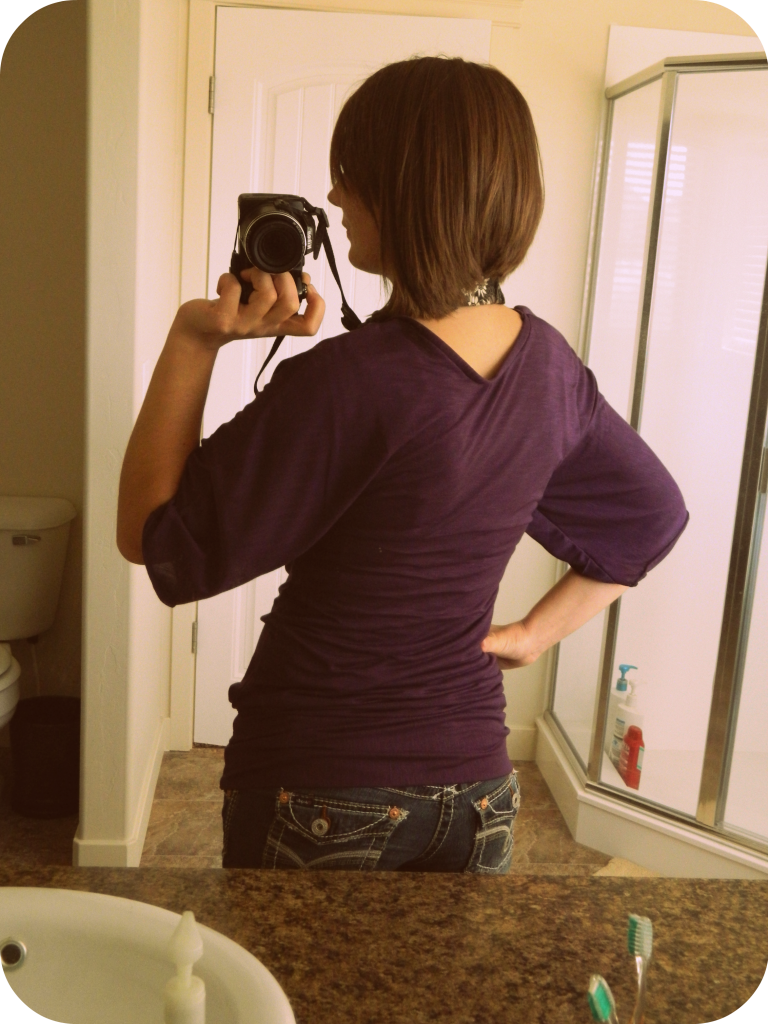
Don't be fooled. It might look fabu-lous-o in the pictures, but it's kind of one of those things that I'll wear around the house. . . and maybe to go get the mail. . . but I would be scared to wear it to a party. People would be mightily confused why my shirt didn't match up in places and has visible seams and a huge neck hole. Maybe if I just keep moving really fast, then no one will be able to notice its homemade-ness. So, basically, if you see me in the store and stop to talk but I keep moving in rapid circles around your shopping cart, it's probably because I'm in this shirt.
But it's very comfortable. I'll give it that!
. . . .
Simply Sweet Frock: Bust

{photo source}
I actually found this tutorial over on Craftsy HERE, not Pinterest. Don't hate me! It's all the same in the long run, eh?
Well, this was the proverbial straw that broke the camel's back. This was the beastliest project I've attempted to date. First of all, I started tracing the pattern on a yard of fabric that I had purchased on clearance earlier in the month. In other words, I didn't measure and purchase the fabric accordingly. As such, I didn't have enough of one fabric and had to get creative with my fabric scraps.
That lead itself to some interesting moments of confusion, but the really confusing part {for me} came when she wanted to me sew on the ruffled frill to the dress. I struggled PROFOUNDLY with that, you guys. You wouldn't believe how many times I pinned and unpinned and repinned that darn thing, trying to understand what she wanted me to do.
Next time I try and sew a dress, I'm going to find a detailed tutorial. I'm just not the kind of person that's good at sewing by the seat of my pants {no pun intended!}. . . try though I may.
After I was nearly done with the dang thing, I was further researching the pattern and found a tiny little note that said: "seam allowances not included". Oooooh snap. I assumed they were and cut my dress accordingly. As such, this poor thing won't even fit on my offspring. The armholes are too tight and the chest area is too snug for me to dare try and put it over her head. She would probably yell "ABUSE!" and sue me for millions.
So here it is in all its extraordinarily special glory:
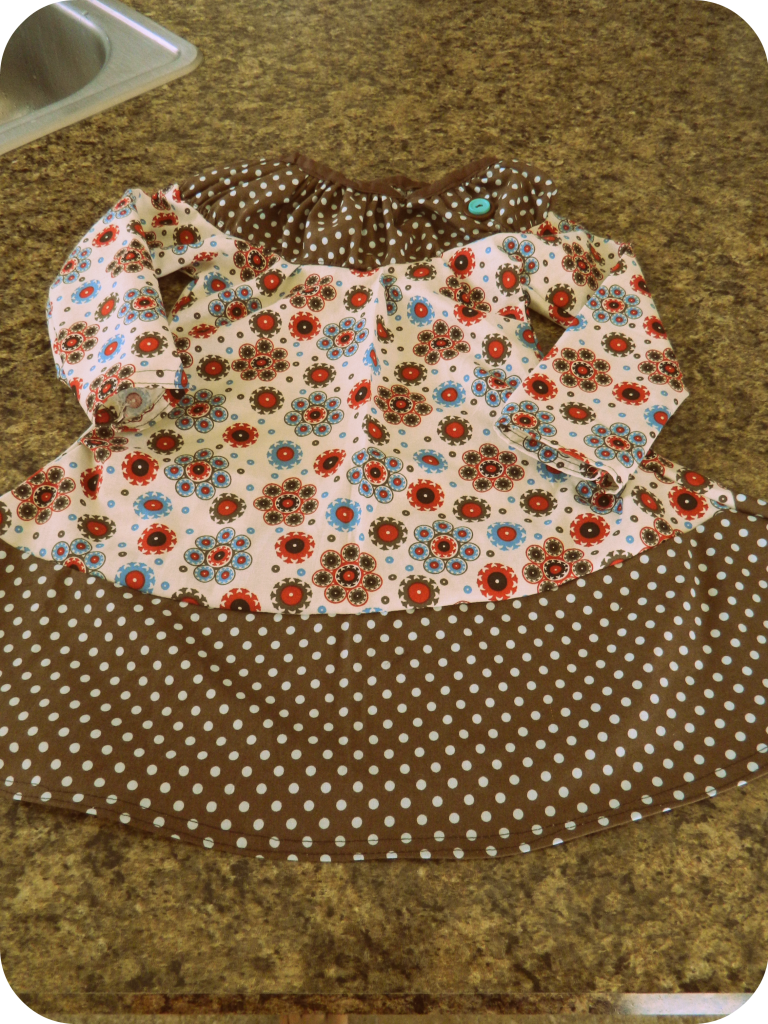
I learned much. And that's all that really counts. Now the trick will be remembering all that I learned by the time I have the patience to try another project! :P
. . . .
I wish you all the best luck with your projects! Hopefully I gave you a couple good ideas if you were in the market for a reason to dust off the 'ol sewing machine.


I think they are all awesome!
ReplyDelete