The Quiet Book Adventure: Part 1
{First of all, I promise I'm not turning into a crafty-blogger-person. I'm not talented enough for that. . . trust me. It's just that I've been on a bit of a sewing rampage lately (surprise, surprise) and I like to think I can help someone else along their journey to sewing machine submission. So if you would rather pluck your eyeballs from their sockets than read the resemblance of a sewing tutorial, you might want to sit this one out}
. . . .
You guys.
I got the genius idea to make Hannah a "Quiet Book" for Christmas.
Have you ever wondered why people sell those for so very many monies? It's because they take many moons to make. And they're kinda hard in a "I have to cut out a zillion little pieces of felt and stitch them together with a zillion little stitches" kind of way.
But I'm SO glad I took on this project! It was well worth the time and effort. Just be sure to cut yourself some slack and give yourself a while to finish it before your deadline. Don't kill yourself off trying to get it all done in a week. You want to enjoy making the book, not dread it. :)
I initially bought a pattern from JoAnn that included pattern pieces for 16 pages. Unfortunately, turns out it was designed some time in the 80's. . . aaaaand looked that way. I'm not a hater (I was born in the 80's, after all), but I was looking for something a little more modern for my offspring. Upon doing a little Google searching, I found some pages I preferred over those included in my pattern. . . so I implemented them as I saw fit.
I would recommend compiling a list of all the quiet book pages you'd like before starting. Then you don't get confused in the middle and can't decide what you're supposed to be doing. Not that I speak from experience or anything. ;)
For the cover of my book, I cut two pieces of fabric that were 13" x 21". If you choose to follow in my not-at-all-experienced-footsteps, once you do that, you will want to fold the long edges under 1/2" {toward the wrong side of the fabric}, press them with your iron, and then sew them down. Repeat with the short edges. If you'd prefer a "quilted" cover, cut a piece of batting that is around 1/8" smaller than your current fabric rectangles. Put your batting in between your two fabric layers {right sides out}. Sew them together using whatever quilting pattern you'd like {just be sure to start in the center so as to keep your batting from shifting}.
For the inside pages, I used 1 1/8 yard duck fabric {but you could also use twill, canvas, or sailcloth}. Fold the fabric {hamburger style; wrong sides together} so that your selvage edges are touching. Then measure 19" x 12" four times. . . like so:
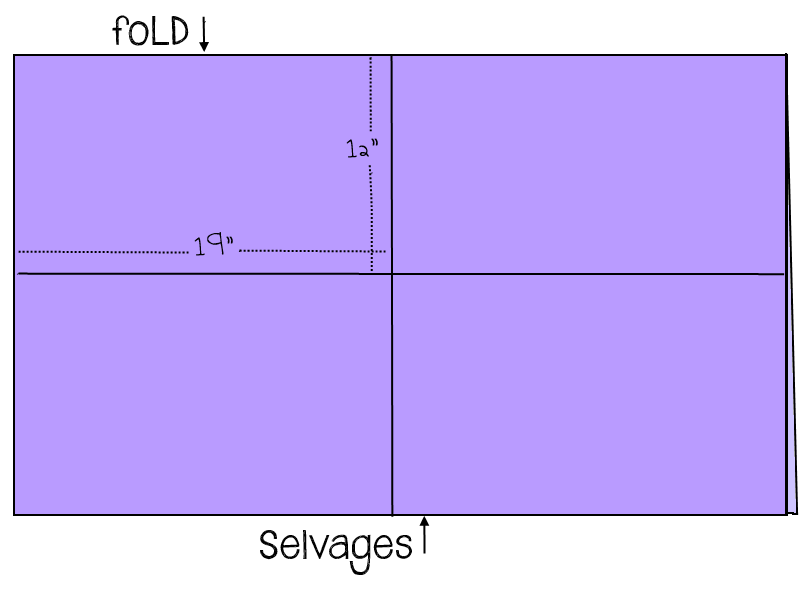
Cut on your lines {including along the fold}, giving yourself 8 pieces of 19" x 12" fabric.
Then measure 1" in on each of the four sides and mark it lightly in pencil {just on the front side; you don't need to worry about the back}. Then measure to the center and mark it lightly with pencil {which is 8 1/2" from your pencil mark}.
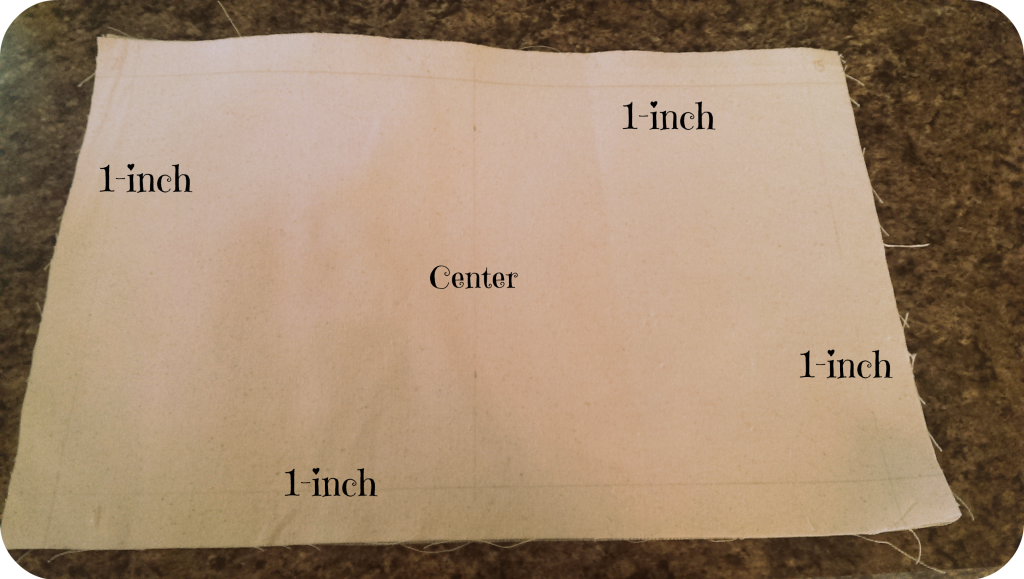
{This 1" stuff will give your book enough clearance for all the stuffing that will be in between the pages once it's sewn together}
Now you'll want to number your pages. Here is where it gets kinda weird. Just trust me, ok? The layout will be as follows:
LEFT SIDE/ RIGHT SIDE:
page 16/ page 1
page 2/ page 15
page 14/ page 3
page 4/ page 13
page 12/ page 5
page 6/ page 11
page 10/ page 7
page 8/ page 9
I wrote the numbers in the top corners of each page, and BOY, am I glad I did!
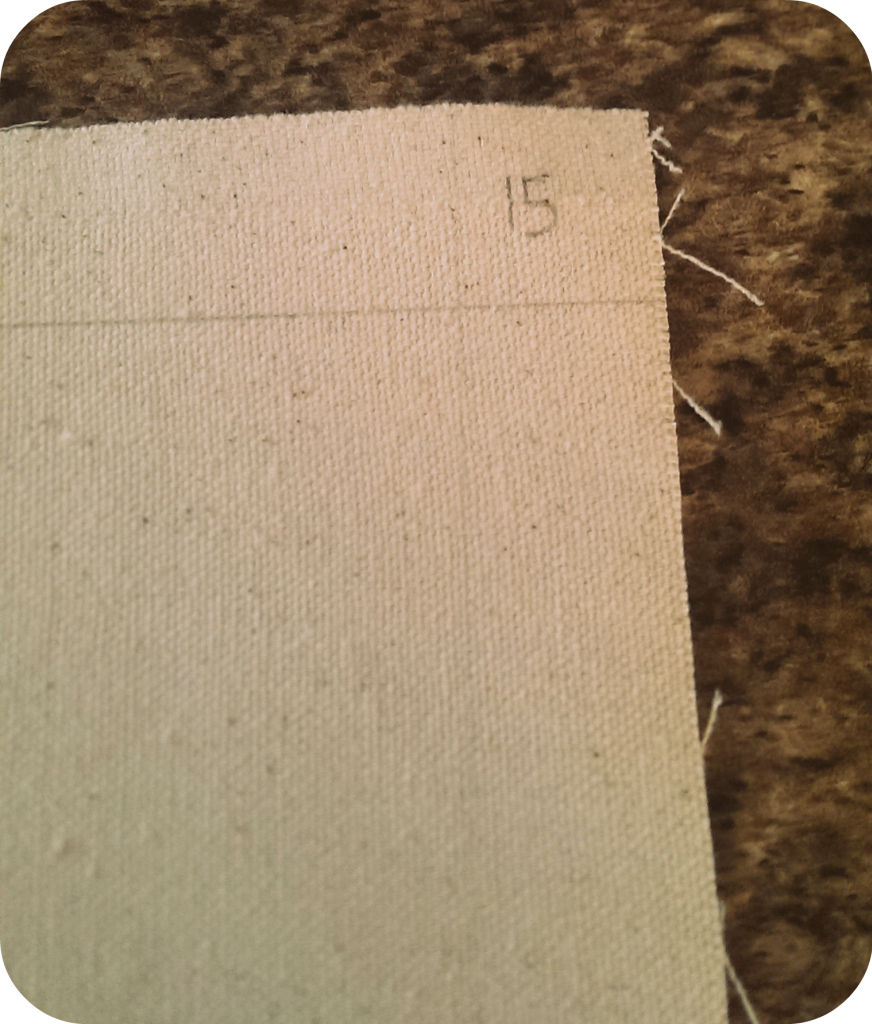
I found it helpful to put all of my pages in the correct order and then work on them accordingly. You'll want them in the order listed above; back to back.
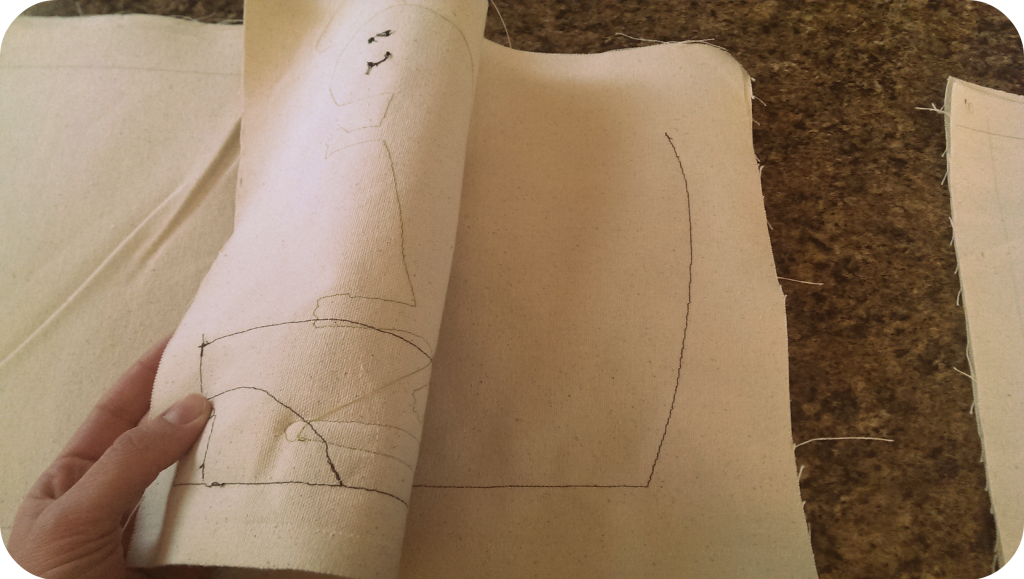
Once you finish the book, you'll have sewn the pages together so that they'll turn as one:
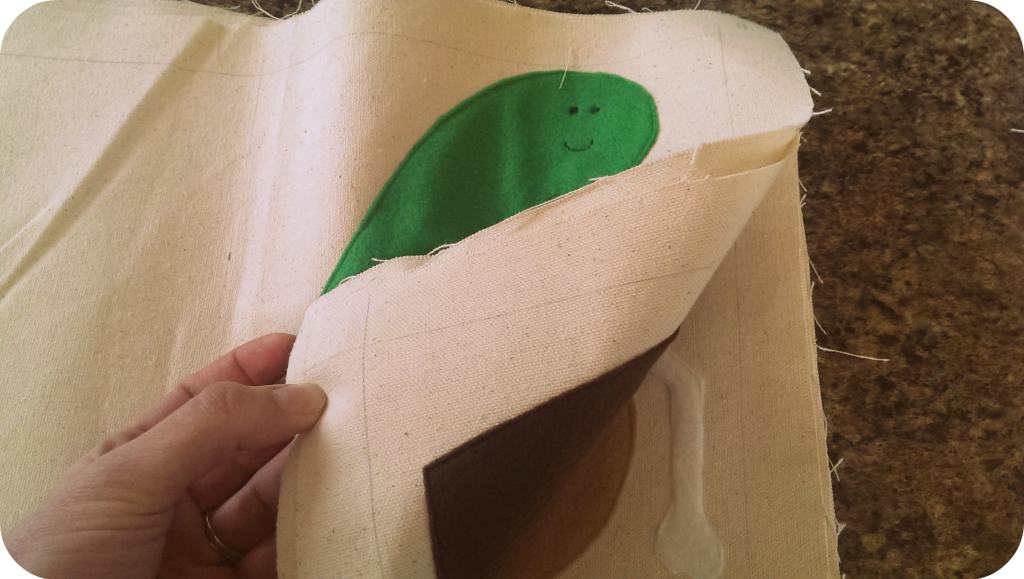
But we aren't there yet, so cool your jets. :) {This is just to give you an idea of the "bigger picture". . . in case you get confused along the way (like me)}.
Now here's something to keep in mind. If you'd like to have two pages in order, make sure they are placed on different pieces of fabric but in the right numerical order. For example, I wanted my Mr. and Mrs. Potato head (and corresponding bucket for their misc. pieces) together, so I put my bucket on page # 12 and my potato head on page #13.
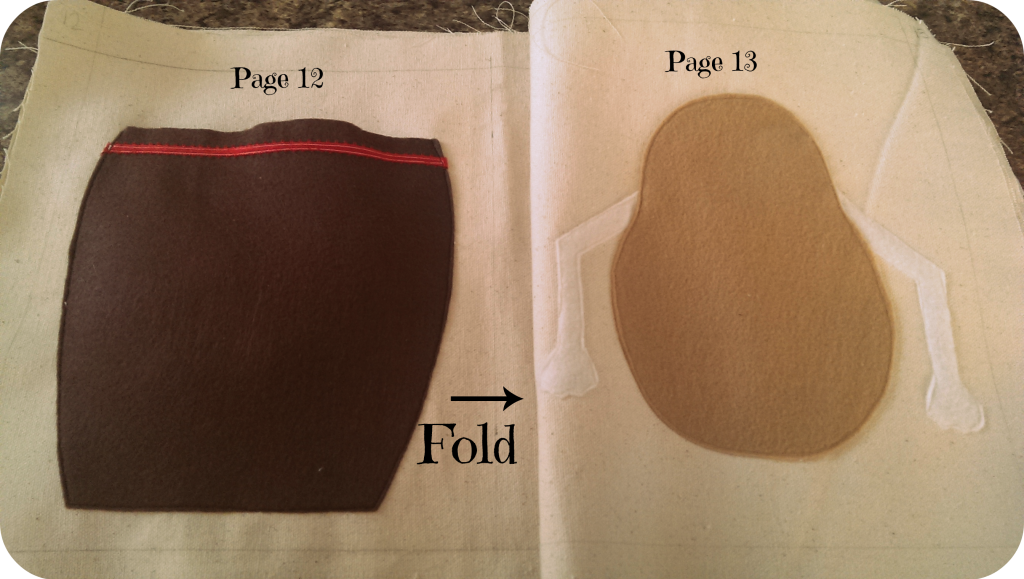
See how they're on different pieces of fabric but the page numbers are correct in order? That's what you want. Capeesh?
. . . . .
Now that you've got your pages all cut out and raring' to go, it's time for some tips on the nitty gritty. You know, the part where you're actually cutting out your zillion little pieces of felt and sewing them on.
--If you can help it, don't mark on your felt. Simply hold with your fingers (or pin) your pattern piece to the felt and cut it out. I found that if I marked on the felt with a pen or pencil, it was still visible after cutting it out and it bugged me.
OCD.
--Cut out all of the felt/various pattern pieces you'll need for the entire book and keep them all in separate ziplcok baggies until you're ready to compile them. Then pin them on the pages before actually sewing them on. . . that way, if you need to make any changes, you don't have to unpick your stitching.
Because if there's one thing I discovered, unpicking on felt is impossible.
So don't mess up. . . No pressure or anything.
--Use the shortest stitch length on your machine. This will help you be much more accurate, especially when it comes to your tiny pieces of felt.
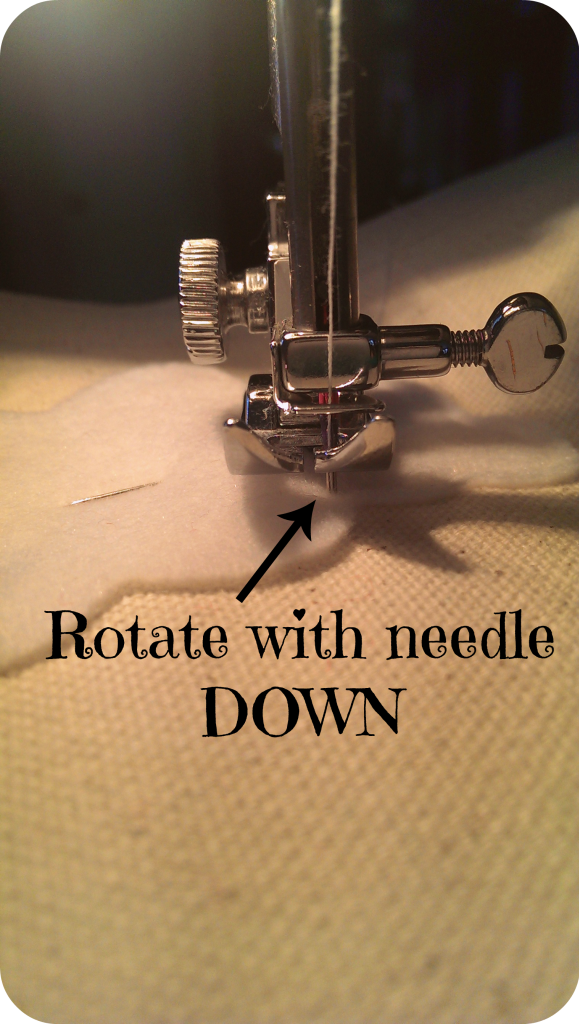
--When it comes to a corner {or any change in direction} as you're sewing on your felt, leave the needle down in the fabric, lift your presser foot and rotate the entire thing. Then lower your presser foot and keep on going until you need to rotate again.
Odds are good that you'll be rotating A LOT. So get used to it. :)
--I got by using the following thread colors: white, dark brown, light brown, light green, and black. I do, however, wish I would have bit the bullet and bought some red. But I'm cheap. So regardless of what colors you decide to use, make sure you actually have all of them before you start. It will save you some frustration down the road.
--I did a lot of looking around, but my favorite source for pattern pieces is definitely from Jocelyn's blog, "Sunshine, Lollipops, and Rainbows" HERE {she shares links to all of her pattern pieces at the bottom of her page}. She also provides a link to a little thing called "The Quiet Book Blog" {HERE} and that will give you a TON of ideas. Seriously.
--If you're looking for a perfect quiet book, buy one; don't make it. Because it' won't be perfect. But, by golly, it will be made with lots of love. And it will mean a lot to you {and the little recipient} to know that so much time and effort went into something just for them.
. . .
I'm going to break this up into more than one post so that I don't turn your brain into mush. So stay tuned for some more helpful hints and then the big reveal of the finished product!


Comments
Post a Comment