Must or Bust : Black Beans and Birdies
Hey, everyone!
Sorry the posts have thinned out the past little while. . . Hannah has been concentrating her efforts on turning into Haggatha at every available opportunity and so it's been difficult to find the time to squeeze in a post!
Also, the hubster surprised me with an early Valentine's Day present. . . a new laptop! My old HP was just plain awful in so very many ways. I'm beyond thrilled to have new technology at my fingertips, but it seems to be kicking my trash a tinsy bit. So please forgive me if I have a million typos and my blog design goes wonky. {quick tangent on that front: I just realized that what I see on my blog layout isn't what ya'll see. Turns out that certain things only showed up on my computer because they were installed on the computer; not yours. So I'm working on getting the kinks ironed out to where I see what you see and you see what I see. :)
But despite the setbacks, I couldn't pass these little gems up, so here we are.
. . .
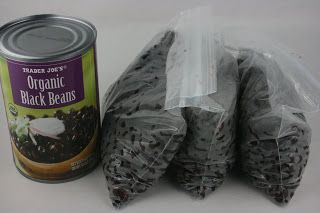
Homemade Black Beans (in a crock pot) : Must

{photo source}
There are a couple different techniques out there for making your own beans, but I followed this one HERE over at "A Year of Slow Cooking".
If you ask my husband, he'll tell you that at the start of this particular project, I was grumbling and mumbling about how I'll never do it again. I would much rather have paid the extra money for a can of black beans. It's just that it was kind of time consuming at the beginning when you're rinsing the beans and picking out the ones that have broken {WHICH, by the way, is totally a never ending process. You pick out all you can see, rinse them under cold water, and they multiply before your very eyes}.
However, after I finished and separated them into little baggies and plopped them in the freezer, I was feeling much better about things. Cooking beans made my house stink, but so does having a one-year old ;). I didn't cook them for the full time she mentioned because they were bite-tender before that. Soooo, basically, just check them periodically there toward the 6-7 hour mark so you don't end up with beans that are mushy and gross.
I tried my first baggie in some chicken taco soup, and I thought they did great. Meaning I couldn't tell a difference between my homemade little beans and the canned beans I would have used before. It's a miracle!
. . .
Pour the entire bag of dried beans into a colander and rinse under cold water. If you see any beans that have broken in half, or skin that floats to the surface, get rid of it. Also pick out any beans that look shriveled and gross.
Dump all the beans into your crockpot. Add enough water to cover all the beans and an additional 2 inches.
Cover. Do not turn on. Let the beans soak for at least 6 hours, or overnight. If you live in a very warm area, and the crockpot won't be in a room that is climate-controlled, put the stoneware in the fridge. You don't want bacteria to have the opportunity to grow.
In the morning, dump the water, and rinse your beans. The water will be bean-colored.
(NOTE: if you are using red or kidney beans, you need to boil your beans rapidly on the stove for at least 10 minutes to kill a possible toxin lurking in the beans. It's better to be safe than sorry!)
Put the beans back into your crockpot and cover with enough fresh water to completely cover the beans with an extra 2-3 inches.
Cover and cook on low for 8 hours.
The beans are done when they are bite-tender. Don't worry if the water hasn't all absorbed. You're going to dump it, anyway.
Drain the beans.
When cool, put 1 2/3 cups of beans into storage containers or freezer bags (you're adding this amount because you aren't adding filler-liquid like the cans have). The beans will store nicely in the refrigerator for 1 week, or in the freezer for 6 months.
Use as you would canned beans in your favorite recipe.
. . .
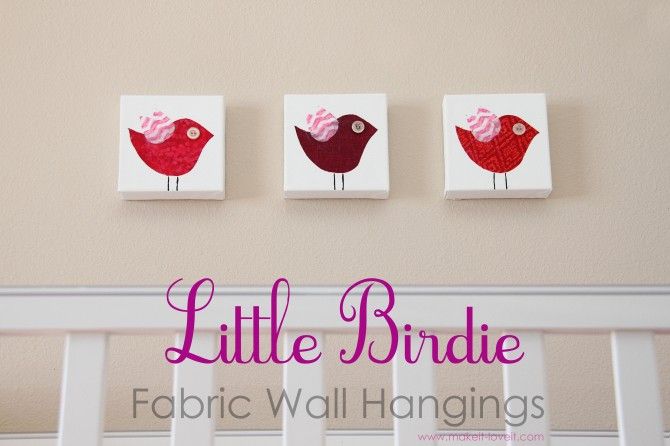
Little Birdie Wall Hangings: Must

{photo source}
First of all, I just love Ashley over at "Make It and Love It". If you are crafty or want to become crafty, you should follow her blog. She's such a sweetie and makes the cutest stuff . . . with the best tutorials! Today, I wanted to try using up some of my fabric scraps and make a wall hanging for Hannah's future room. HERE is the link to the tutorial.
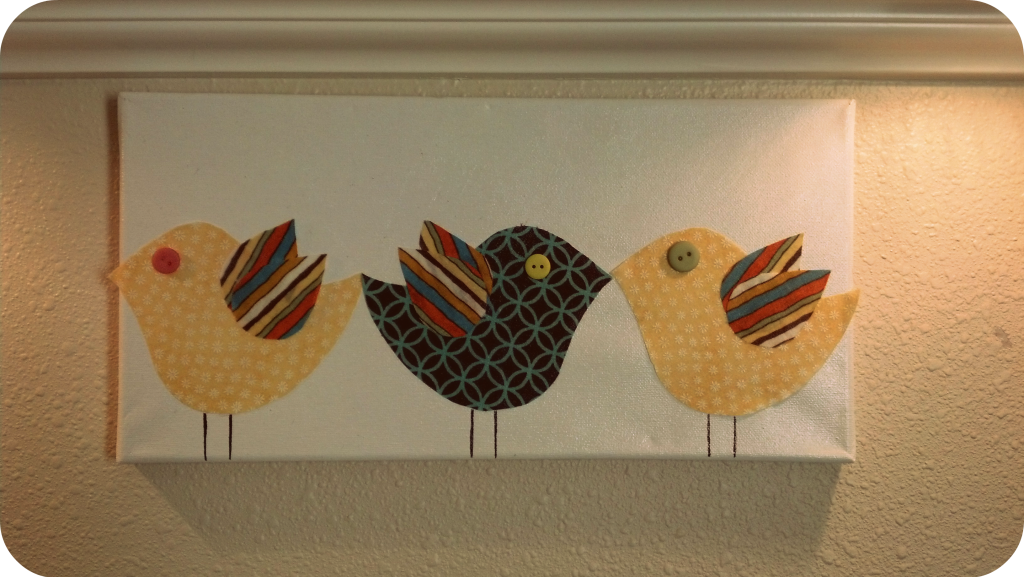
I already had a spare canvas from a super secret project that I'll share later, so instead of using three little ones, I just used one larger one. My birdies were a TINY bit too big, but I was far too lazy to re-cut them out . Also, the canvas is from Wal-Mart and thereby not the greatest quality, but it worked.

I apologize for the poor lighting and stuff. And don't laugh at my not-nearly-as-cute-looking-wall hanging. :) {I need some help. . . do you think I ought to put something up at the top to break up the white canvas? I didn't dare put the birds any higher because I didn't want their legs to be 3 feet long, but I worry that it looks funny with so much empty space}
This was fun and quick. . . perfect to whip out as your little one is taking a nap or chewing on the table legs.
One word of advice. . . you'll notice the bird in the middle is facing a different direction. Yeah, that wasn't on purpose. I wasn't really thinking and so I cut one bird on the right side of the fabric, and then cut another bird on the wrong side of the fabric. If you want your birds all facing the same way, be sure to cut them all on one side or the other. Make sense? If not, don't worry. It will if you make the same mistake! :)
Also, I didn't bother painting on the legs. I just used a fine-tipped permanent marker and it did the job marvelously.
. . . . . .
I hope you all had an enjoyable weekend! Keep checking back after V-day and I'll share another canvas-themed masterpiece!


Those little birdies are darling! I like that one of them is facing the other way. You r quite the little crafter! Love you, Ma
ReplyDelete